
The Untalked About Issue with DTG Printing Dot Gain
Direct To Garment Dot Gain Can be controlled with the correct pretreatment like Image Armor LIGHT Shirt Formula

If you own a Direct To Garment printer, or are looking into purchasing one, it is broadly known that the pretreating is one of the least favorite processes. It is however absolutely necessary in achieving a great looking print on your garment. As the manufacturer of one of the leading DTG pretreatments in the world (Image Armor), we wanted to clarify what is going on when you pretreat, why you get the dreaded “box” and why your “favorite” expensive shirt may not be the best for your DTG pretreating needs.
WHAT IS PRETREATING?
Pretreating is the process that allows for successful digital white ink printing on a garment. It is a necessary step before the shirt is printed where a liquid pretreatment is applied to a garment, typically via a spray application, and then heat set to create a “foundation” upon which the DTG printer (Brother, Epson, Aeoon, M&R) then prints the graphic to be applied to the shirt.
Pretreating accomplishes two basic functions. You can think of it like primer for drywall. A painter would typically apply a coat of “primer” on the drywall to act as a barrier between the drywall and the final coat of paint. This is done so that the final coat of paint does not soak into the drywall, leaving your finished paint job looking rather spotty and uneven due to different absorption rates of the paint into the drywall.
Pretreatment acts just like that primer to create a barrier between the shirt and the white ink printed on the garment. It allows for a better bonding surface for the ink when printed to the shirt. The pretreatment also reacts with the white ink causing it to slightly firm up (not being completely wet or “kicked over”) allowing the CMYK ink being deposited onto the shirt to not mix and muddy on a wet white ink (like trying to paint one color over another when the paint is still wet and they mix together).
The result by pretreating? A great base for the white ink to adhere to and become dry enough for precise retention of the CMYK ink as the final print is completed.
Many of the complaints with pretreating are determining the amount of pretreatment to apply to the shirt to get a great looking DTG print. This issue is beyond the scope of this article but a good general starting point is to apply between 18-24g of pretreatment as a starting point. Some shirts may require a little less or a little more to achieve the perfect base that will give a great looking white ink print with the best wash durability possible.
Another issue is scorching or “boxing” of the pretreated area. This is where you physically can see on the shirt the pretreated area after it has been heat pressed dry. Remember, the pretreatment typically need to be dried to be “activated” as the primer for your white ink print. Typically this is done through a heat press though some shops will run the pretreatment through a conveyor dryer and then press the fibers flat prior to printing. Either process will work with both having their own advantages and drawbacks, but this topic also is beyond the scope of this article.
As the manufacturer of Image Armor we hear on a regular basis that the pretreatments are staining or leaving extremely visible boxes on certain garments or certain colors. We will address this with a simple illustration and explanation.
Pretreatment is typically NOT the issue with staining. It is true that in some cases the pretreatment can be less than optimal for DTG and will definitely contribute these issues, but most of the established brands of pretreatment will all perform relatively the same in regards to the staining issue. Some pretreatments will perform better on certain colors or brands of shirts than others. Typically we see where one brand performs better on color “A” the other brand may out perform the first pretreatment on color “B”. There is NO MAGICAL pretreatment that will solve all the issues associated with DTG pretreatment and printing.
The biggest contributor to visible stains and scorches is actually the shirt itself.
One would think that a higher priced or perceived higher quality shirt would perform much better than a less expensive garment. This perception is really a misconception.
Taking a look at the picture at the top of this article are three separate t-shirts from three different manufacturers. The application amount of pretreatment, process for curing the pretreatment and the cure time were all the same across each shirt. The amount of pretreatment applied was 20g, heat set with 80psi on a pneumatic heat press at 320F – pressed 2x for 20 seconds each press covered with a parchment paper during curing.
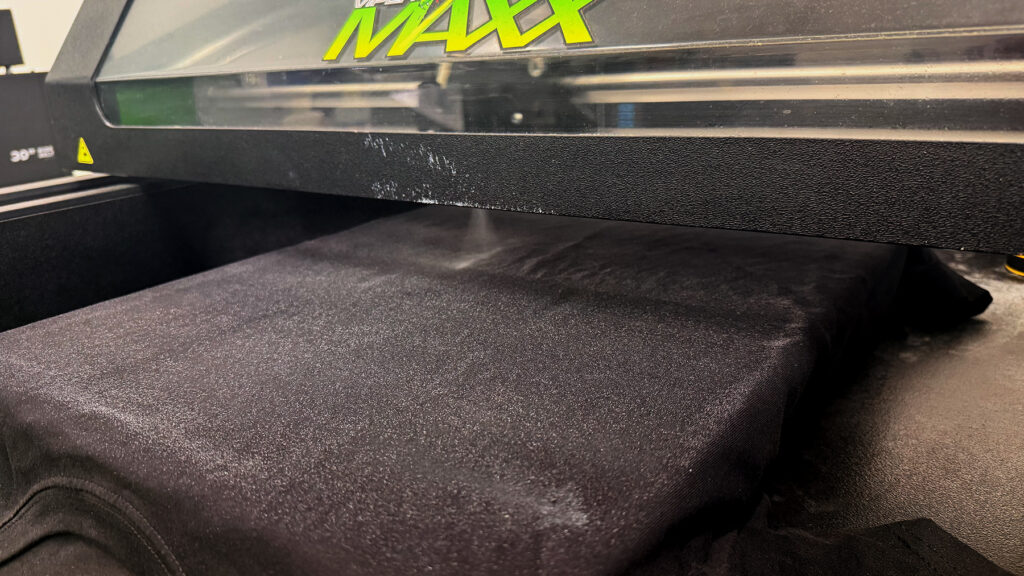
The application and process of applying and curing the pretreatment was exactly the same however the results on the three different shirts were completely different (and unexpected). Please note that the camera will make the pretreatment area more visible that what is typically seen with the naked eye but in real life the above differences were rather dramatic to the naked eye.
The shirts are numbered from 1 to 3. As can be seen, one of the worst results on a black shirt was shirt #2. The pretreatment area was much visibly lighter that the original color of the shirt creating an extremely contrasting DTG pretreatment box. Shirt #3 was better but still very visible while shirt #1 had only a slightly perceivable pretreatment area if you knew what you were looking for specifically (i.e. being very picky).
Let’s break this down into a chart.
|
SHIRT #1 |
VIRTUALLY NO BOX |
LEAST EXPENSIVE SHIRT -~$2.35 ea |
|
SHIRT #2 |
WORST BOXING |
MOST EXPENSIVE SHIRT – ~$3.79 ea |
|
SHIRT #3 |
VERY VISIBLE BOX |
MIDDLE/UPPER SHIRT ~$3.59 ea |
** the above prices are taken directly from the manufacturer website as of 11/12/25 and is the lesser of the retail or sales prices for that day.
This is a question that is often asked. The cost of the shirt, though perceived value theoretically is reflected in the price of the shirt, does not necessarily reflect the quality of performance for DTG pretreating. A higher price garment does not always indicate the garment will perform or hold the DTG pretreatment better that a lower priced garment.
During the manufacturing of the shirts there are a lot of different processes that play into how a garment will react when direct to garment pretreatment is applied to the shirt. Everything from the dyes, to the water used, to the post processing of the garments will ALL play into how pretreatment reacts on the shirt. As can be seen above, the least expensive shirt (which is actually a promotional weight garment from UxPrint) performed exponentially better than the other two more expensive shirts that are considered “higher quality” in the industry. We will not disclose which shirts those are because that is not the goal of this article to show bias for or against those shirts).
The ENTIRE manufacturing process is responsible for a well performing shirt in the direct to garment printing industry. We are not saying that these shirts above are poor performing shirts – as they will perform well for screen printing or DTF (Direct To Film) just fine.
Pretreating is an essential part of the Direct To Garment printing decorating method. However, just as important as the pretreatment and pretreating process is itself, there are many other factors to consider. The shirt plays an equal, if not more important part in the DTG process. Finding the best shirt that works with your DTG pretreatments, whether it is Image Armor or another brand of pretreatment, is key in successfully creating a truly one-of-a-kind DTG printed masterpiece.
If you want to totally avoid ANY pretreatment box and not have to pretreat there is the option of utilizing a fully DTG pretreated shirt. One such product is RTP Apparel (shop.rtpapparel.com) where the entire shirt is pretreated and can be printed on anywhere allowing you to skip the pretreating process itself saving time and money in production even though the shirt typically costs more than a standard untreated shirt.
Don’t be afraid to recommend the best DTG performing shirt to your. One brand may not fit all your DTG printing requirements. You might utilize one brand for BLACK shirts and another for RED or NAVY. Remember you are the Garment Decorating Professional and your experience holds a lot of weight – especially when you can explain to the end customer why you want to use a particular shirt. Continue to refine your knowledge, experience and techniques and you can take your DTG printing to exciting new levels of quality!
Direct To Garment Dot Gain Can be controlled with the correct pretreatment like Image Armor LIGHT Shirt Formula


HOW YOUR SHIRT IS MADE PLAYS A HUGE ROLE IN HOW IT WILL DTG And higher shirt prices don’t necessarily […]


TRY BEFORE YOU BUY OFFER! Get a FREE SAMPLE of the Image Armor UV RESISTANT TITANIUM formula Image Armor is […]

TRY BEFORE YOU BUY OFFER! – Get a FREE SAMPLES of the most popular Image Armor formulas – Image Armor […]
